

Installation
Installing and setting up the WaterGuard Level Controller
Qualified installer only
This work may only be carried out by a qualified installer. Disconnect the WaterGuard from the power supply before opening the housing or changing connections.
This guide describes the mounting and setup of the WaterGuard Level Controller. Carry out the steps in the order given.
Warning
Work on electrical equipment may only be carried out by qualified personnel. The controller and USB-C power supply are not suitable for outdoor use. Mount the controller in a dry location protected from excessive moisture, wetness and direct sunlight. The controller must not be installed in the cistern dome or submerged.
Preparation
Danger
Disconnect the power supply before opening the device housing or making any electrical connections. All electrical work must be carried out in accordance with the applicable regulations.
Required tools
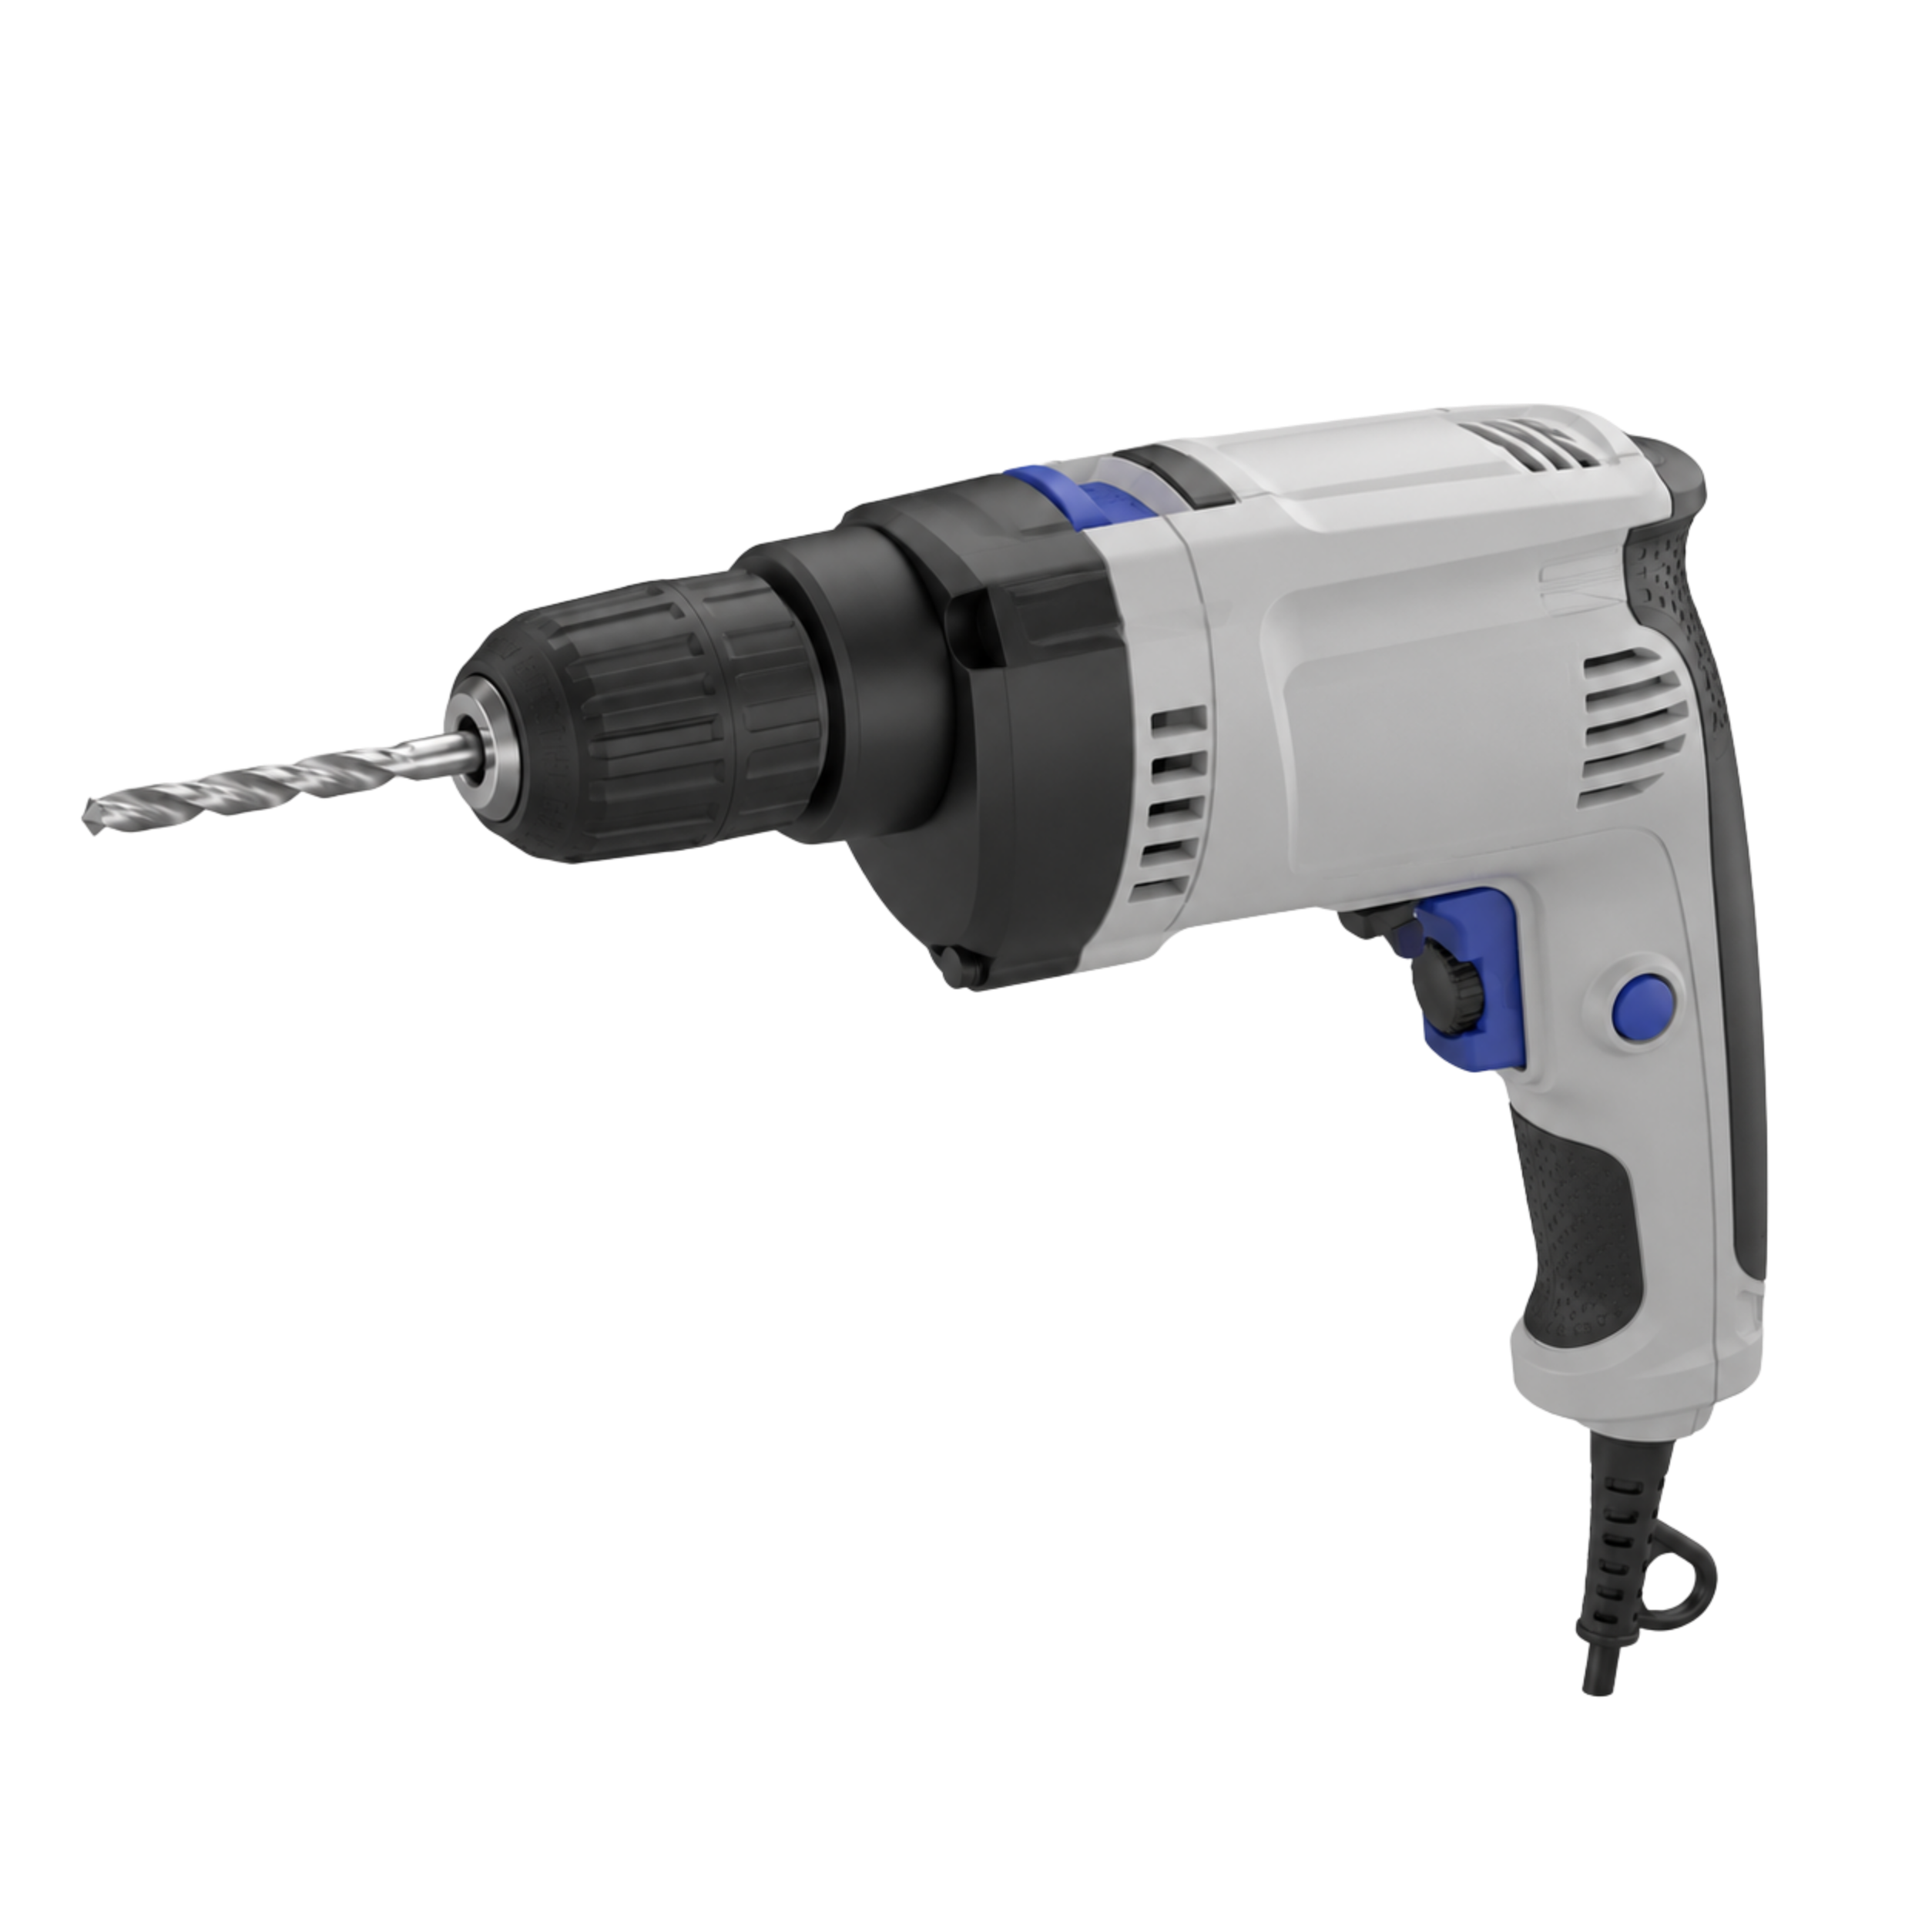
Drill
with a 5 mm drill bit for the wall plugs
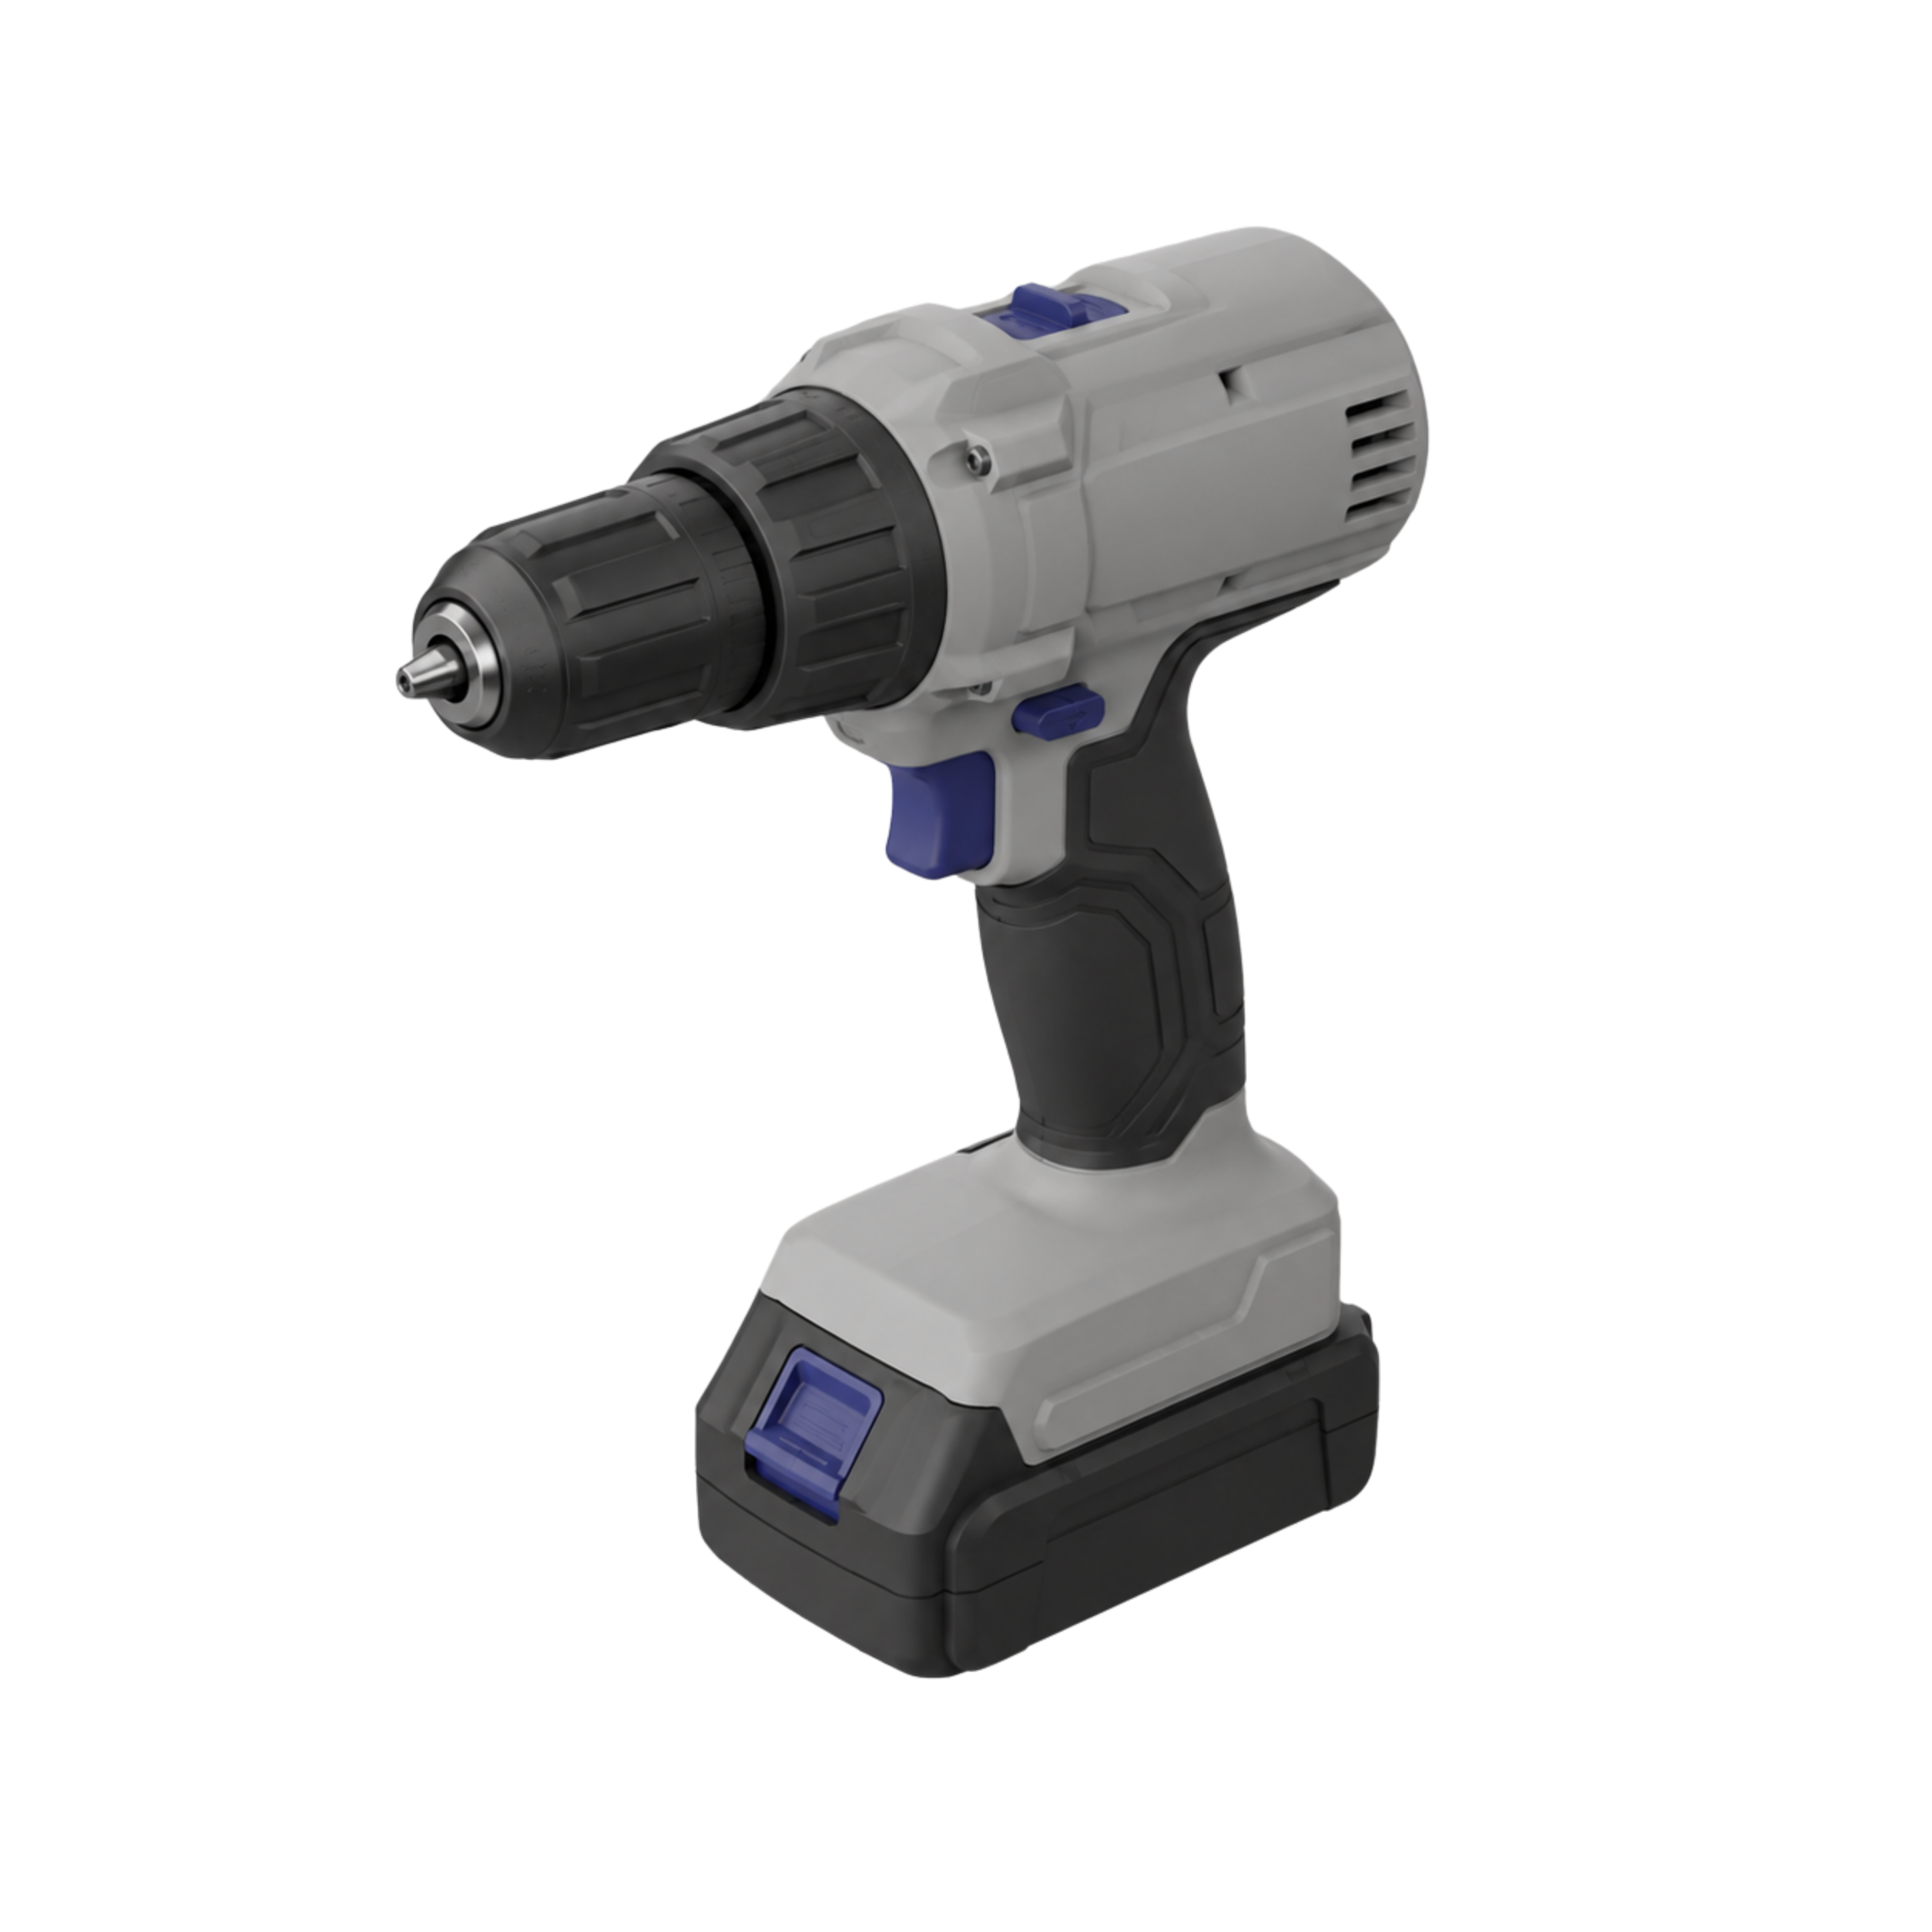
Cordless screwdriver
with a PZ2 bit
Mounting location
- The mounting surface must be flat, dry and load-bearing.
- The power supply and sensor cable must be reachable.
- Check with a mobile device whether the Wi-Fi signal is sufficient.
Mounting and connection
Attach the mounting plate
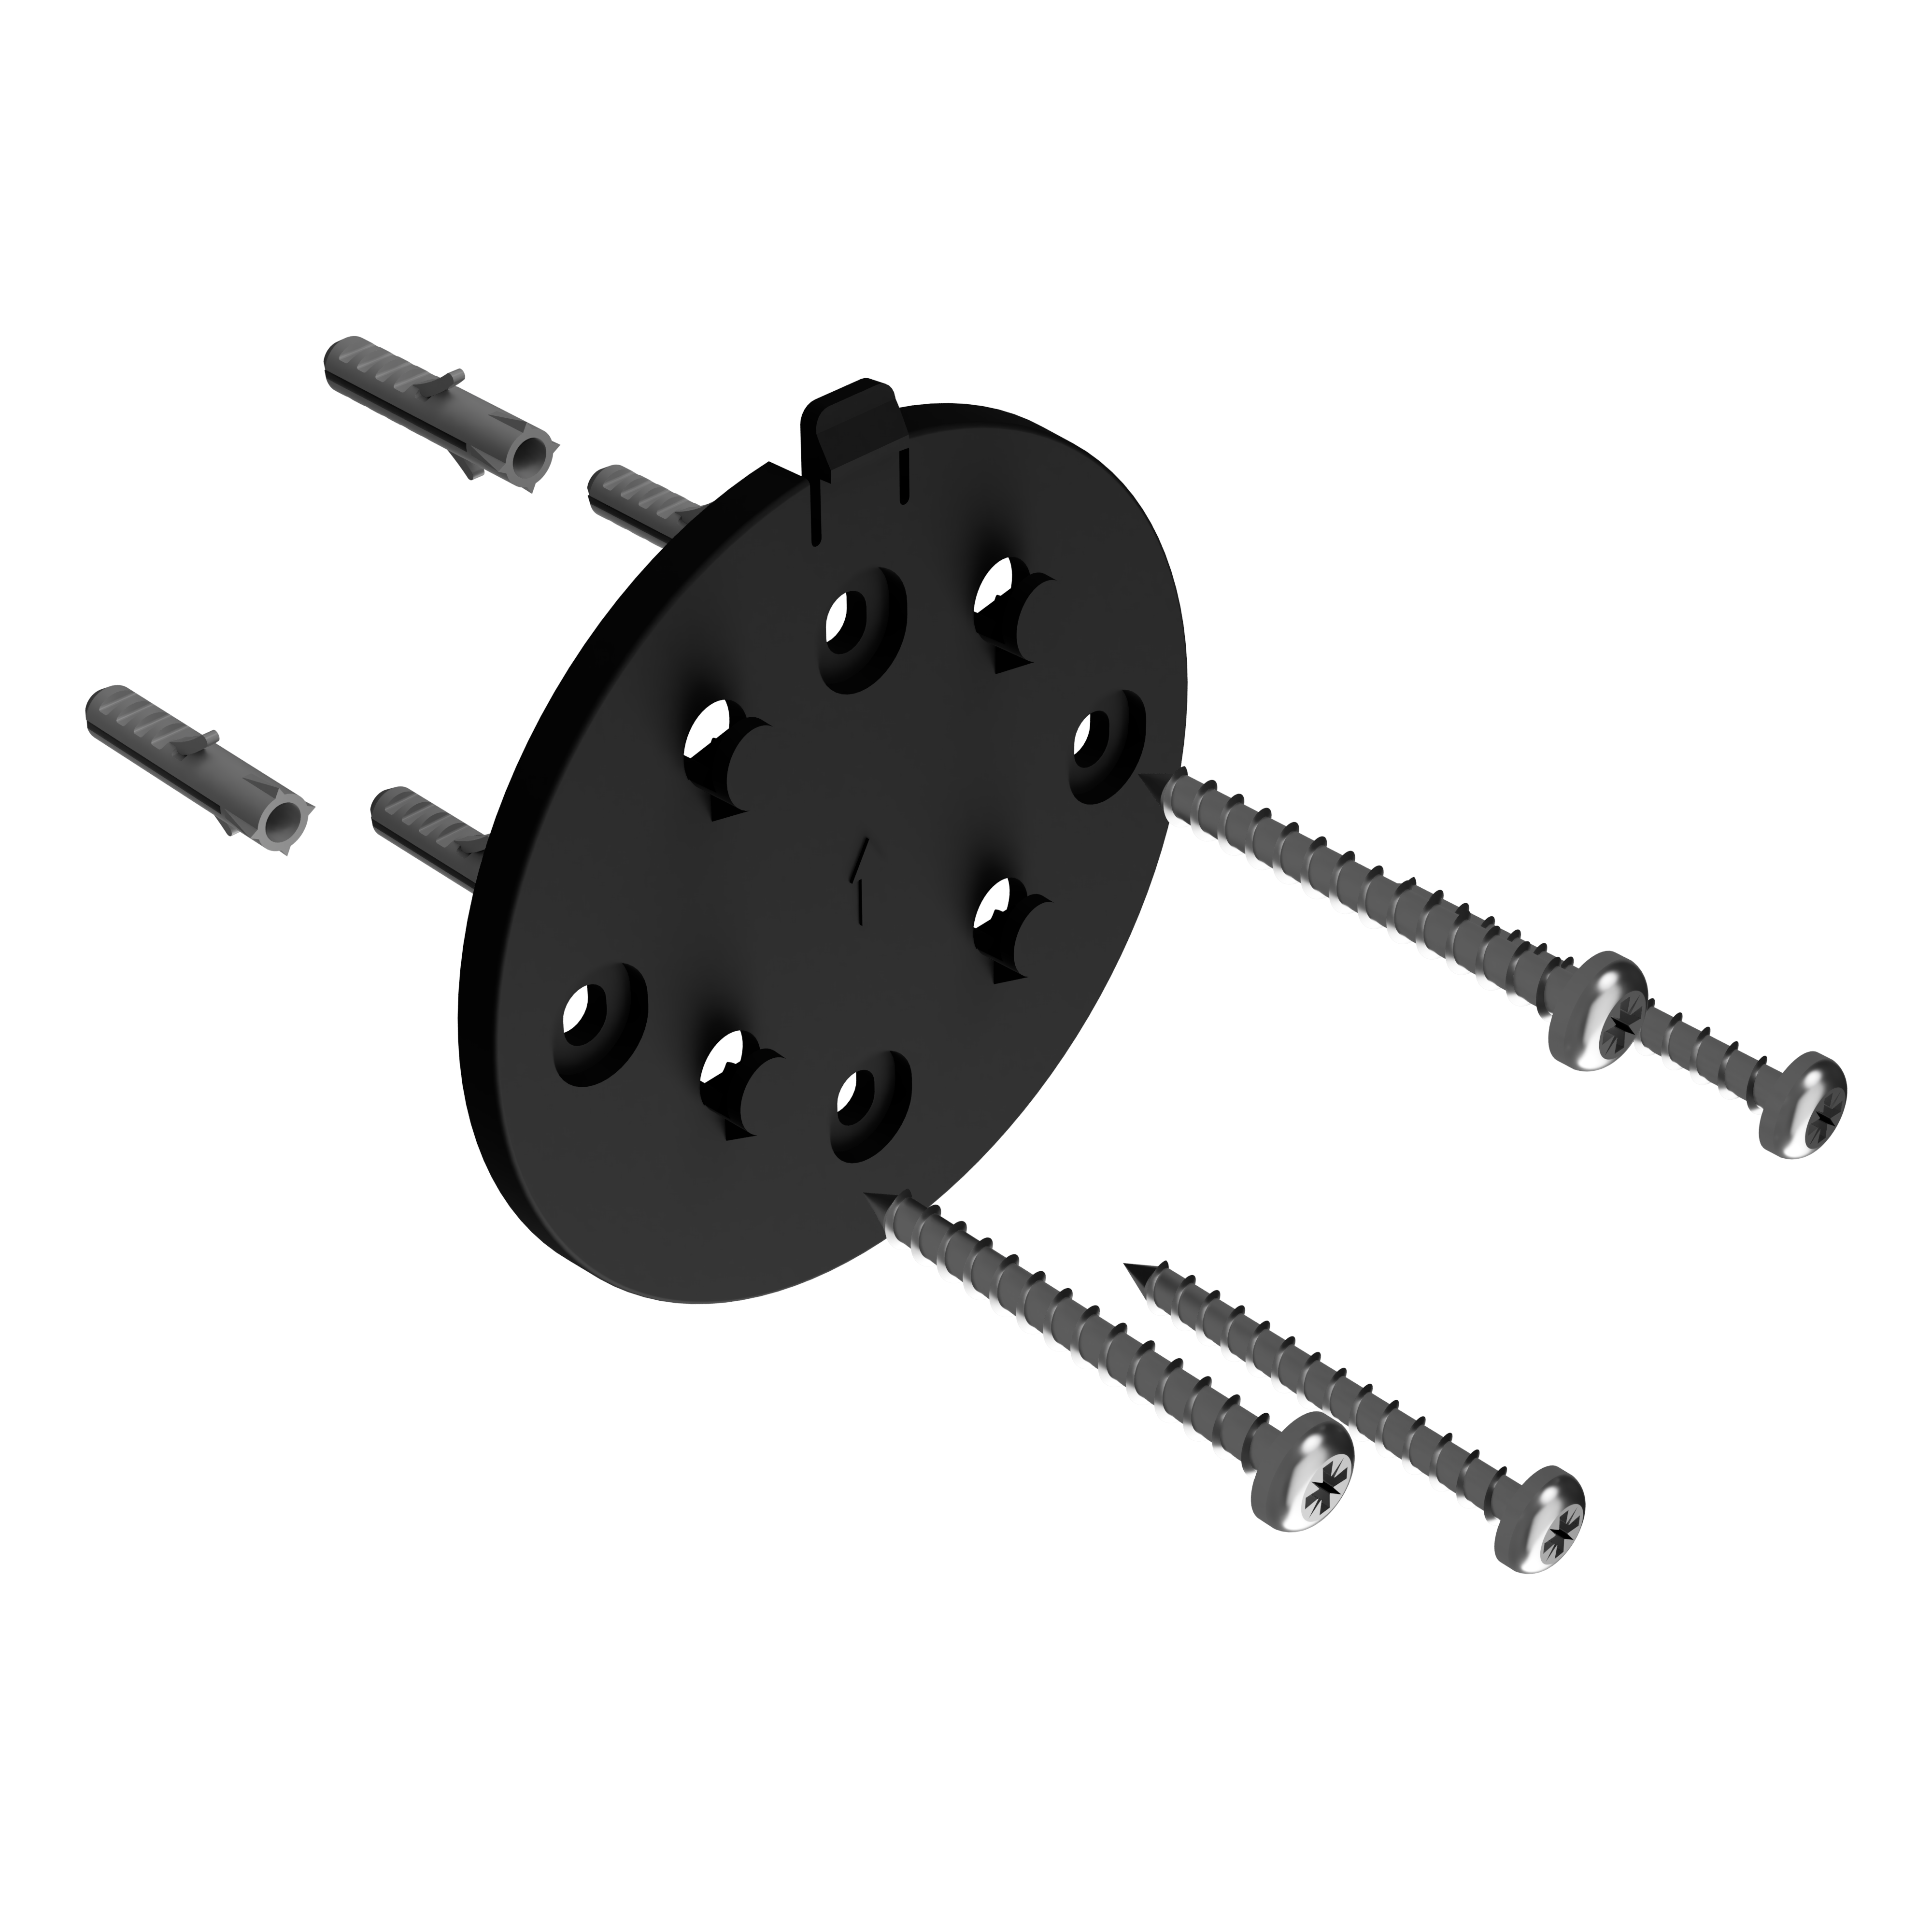
Hold the mounting plate against the wall, mark the screw positions and drill the holes with a 5 mm drill bit. Insert the wall plugs and secure the mounting plate with the screws.
Secure the sensor box in the cistern dome
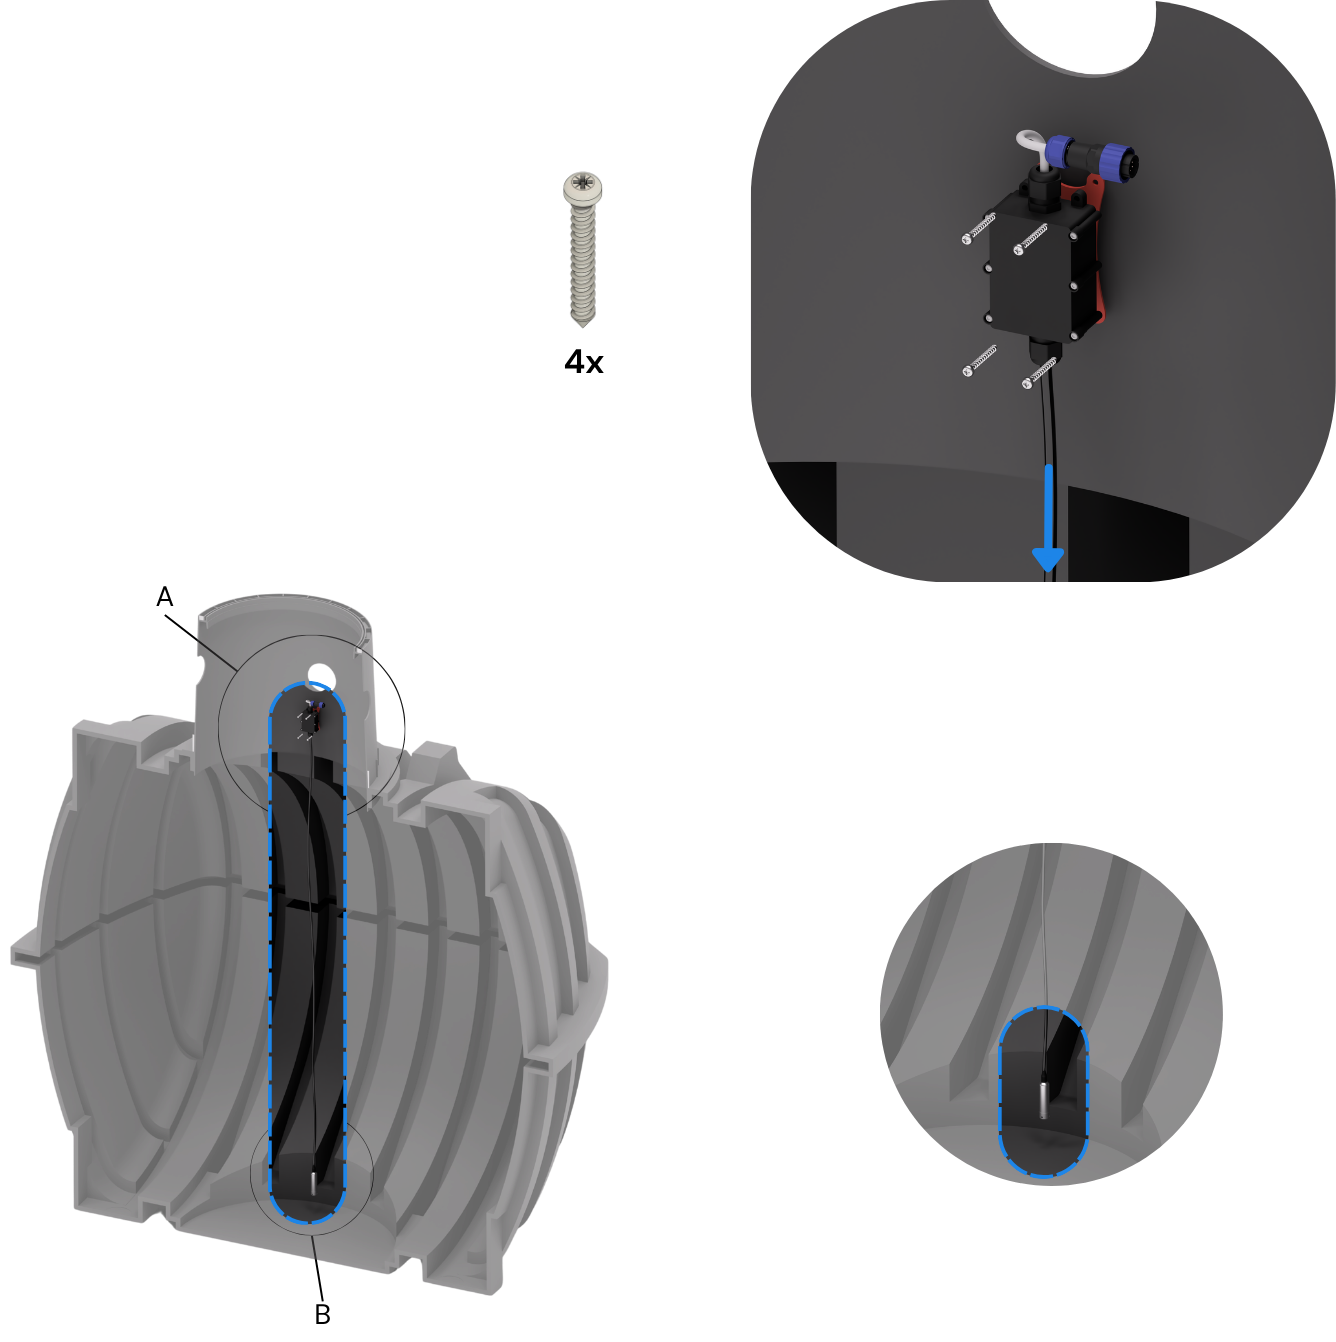
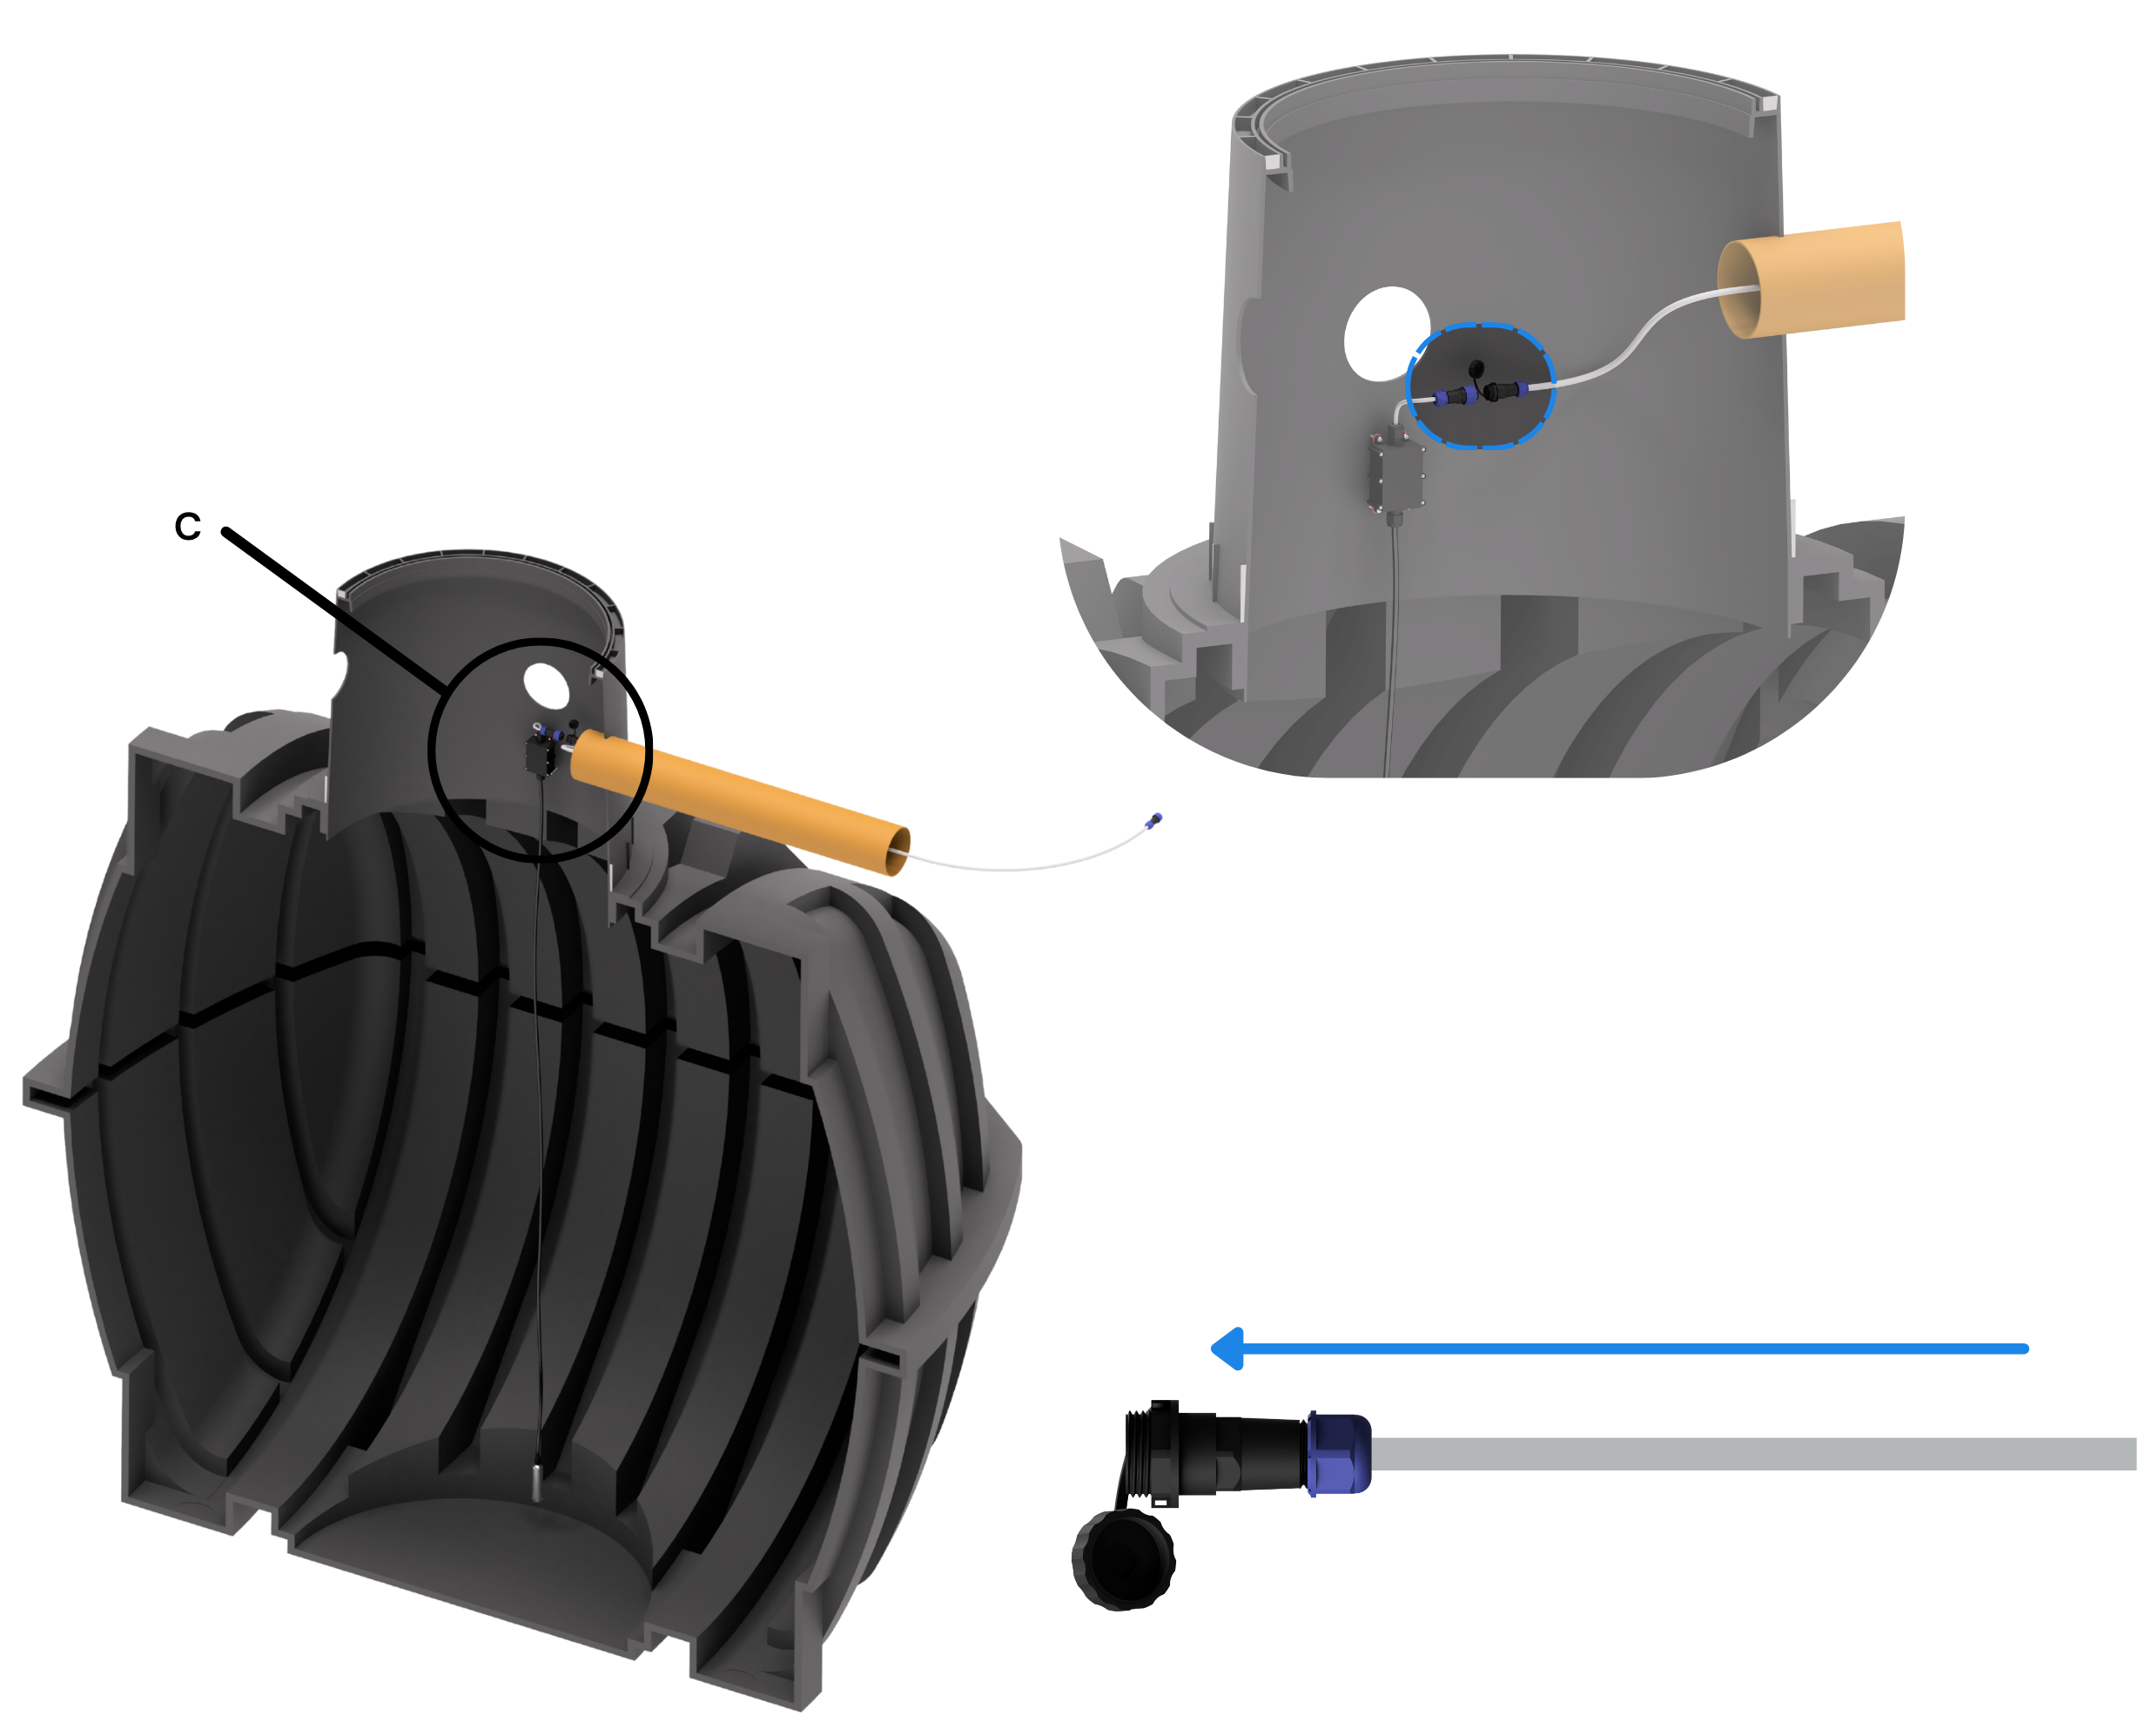
Secure the sensor box using the included moulded part in the cistern dome. Align it so that the sensor hangs straight down.
Danger
Never immerse the black sensor box at the upper end of the sensor in water. It is protected against moisture, but it is not waterproof.
Warning
Do not cut or shorten the sensor. Coil any excess sensor cable and secure it neatly.
Caution
Leave the sensor capsule hanging at least 5 cm above the tank floor so that it does not rest in sediment or other contamination.
Route and connect the sensor cable
Route the sensor cable from the WaterGuard Level Controller to the tank opening. Do not kink, pinch or put the cable under tension. Plug the data cable into the designated socket and secure it with the union nut.
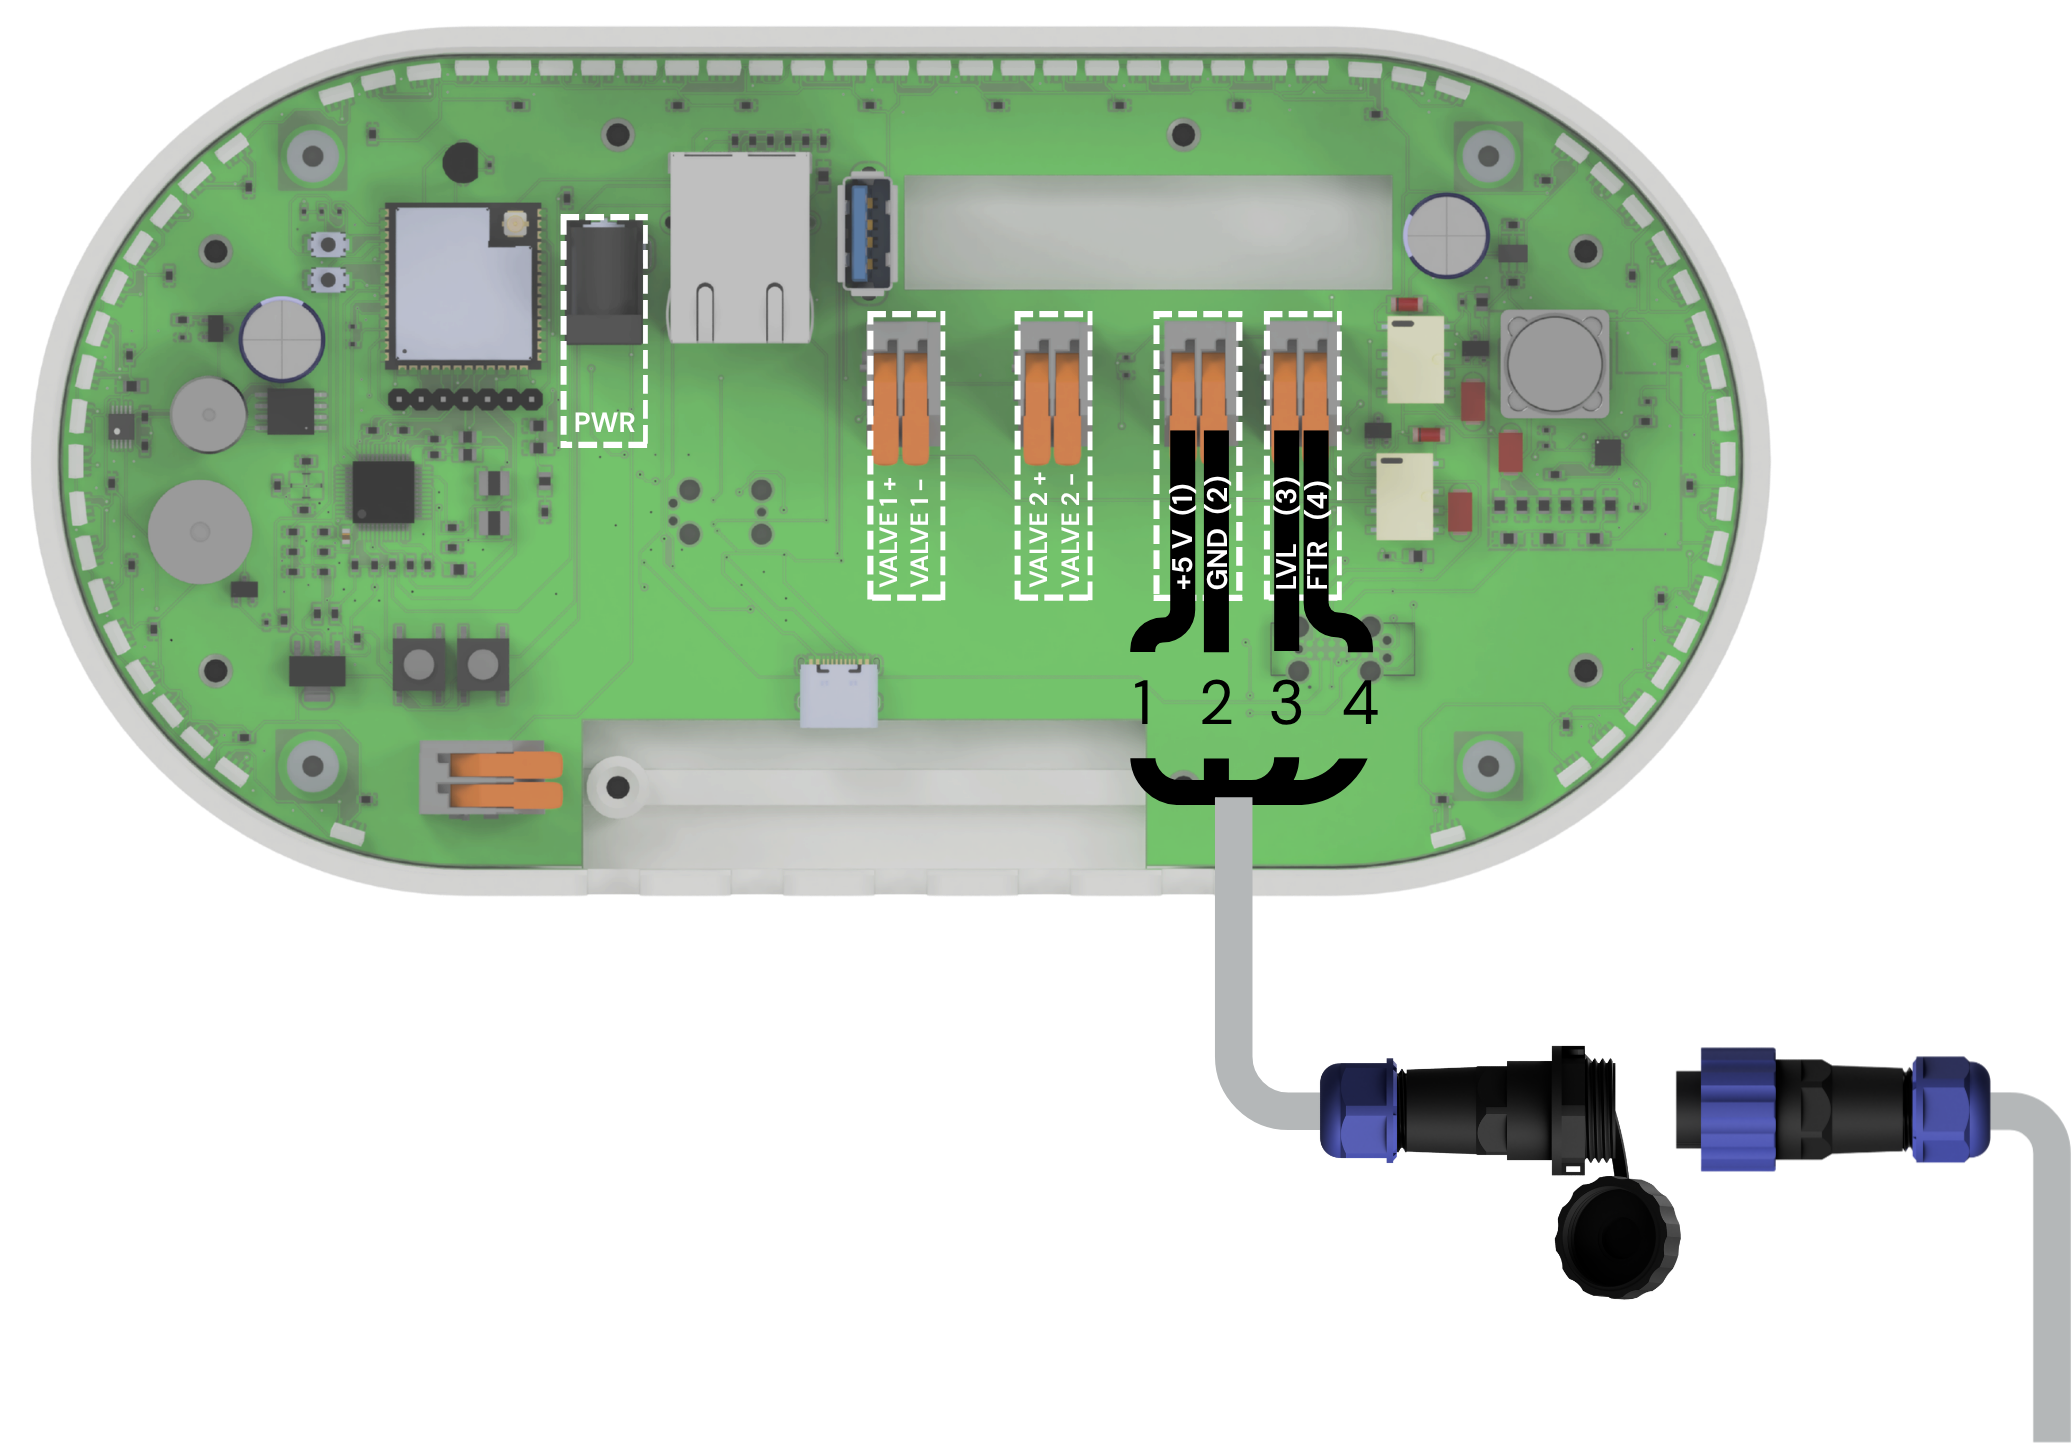
Close the housing
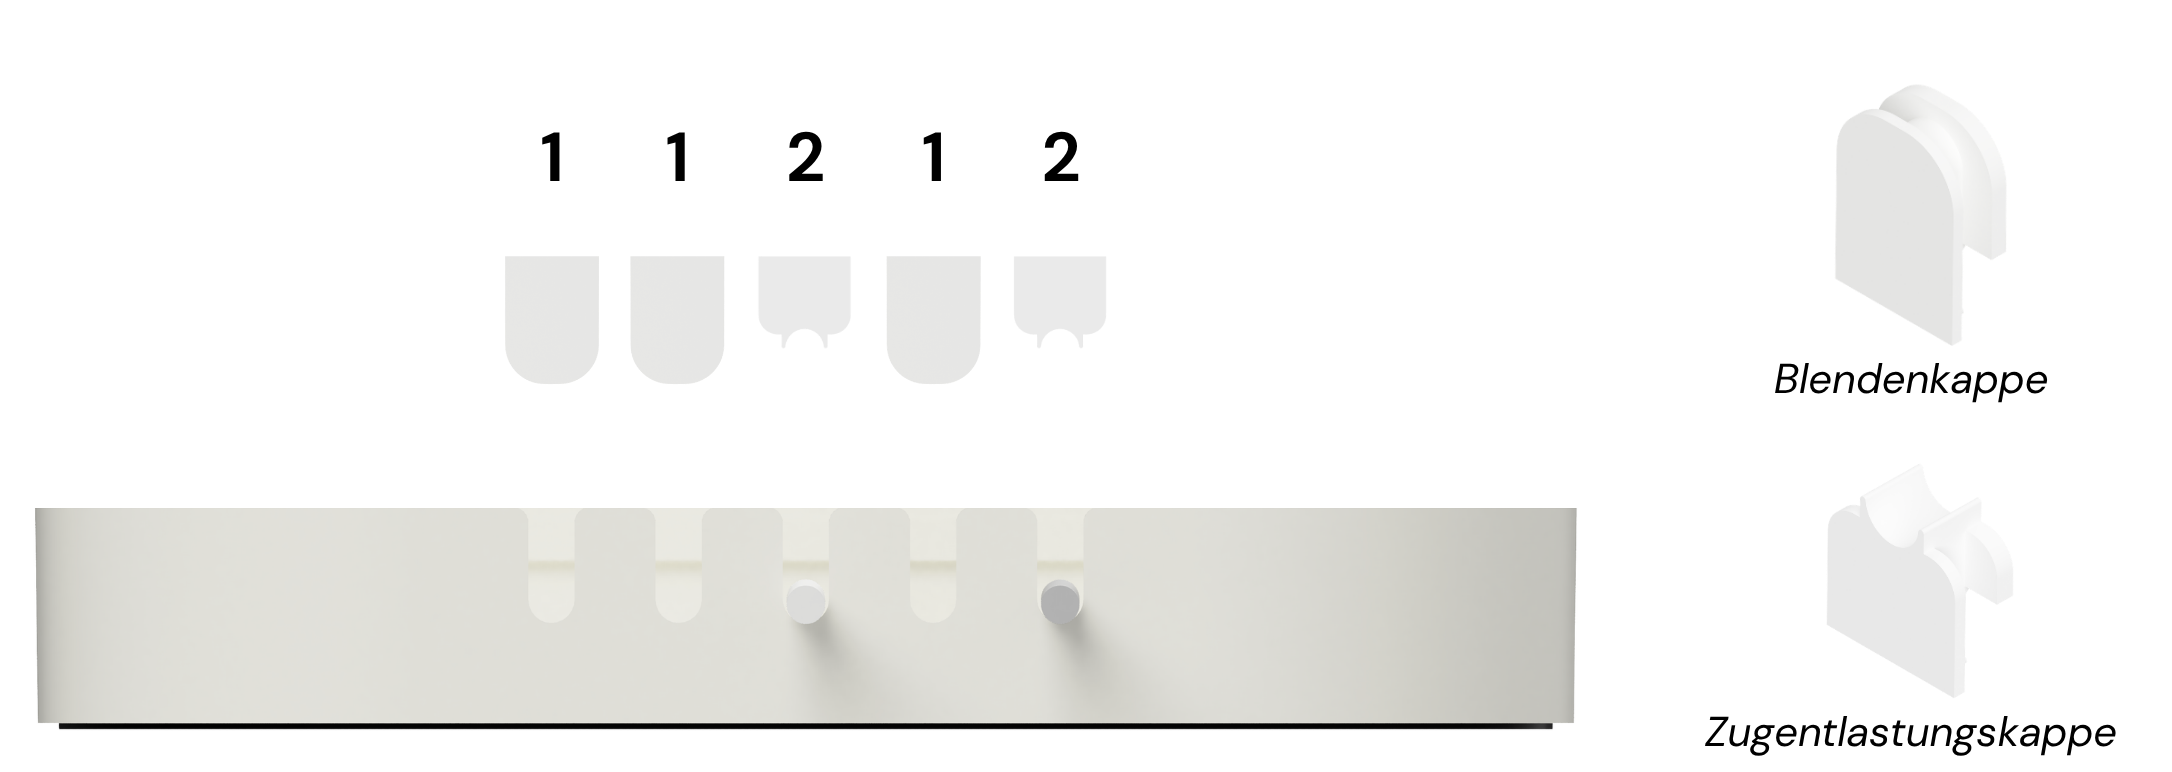
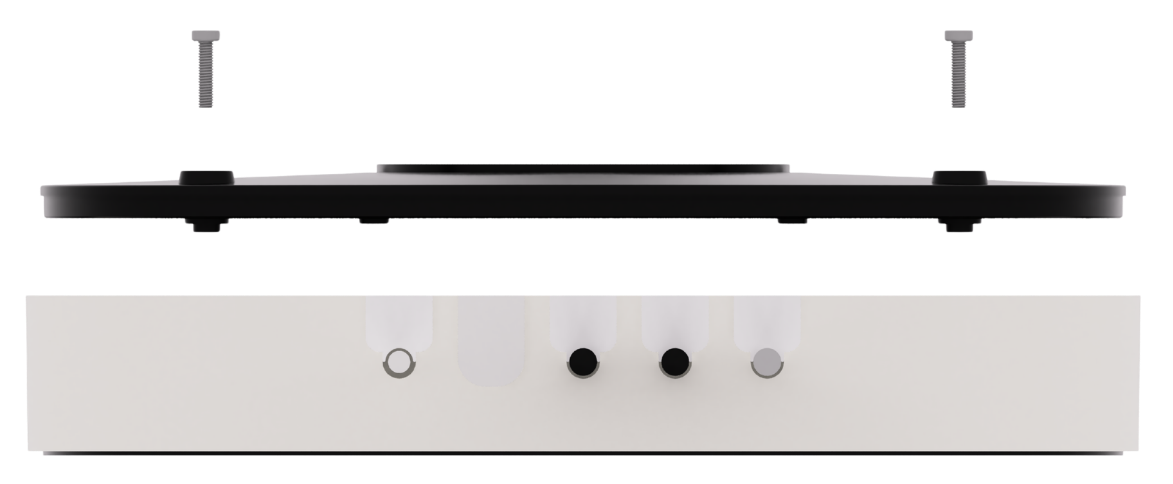
Insert the supplied silicone seals into all occupied and unused housing cutouts. Insert the back plate and close the housing with the four socket head screws using a 2.5 mm hex key.
Attach the controller and connect power
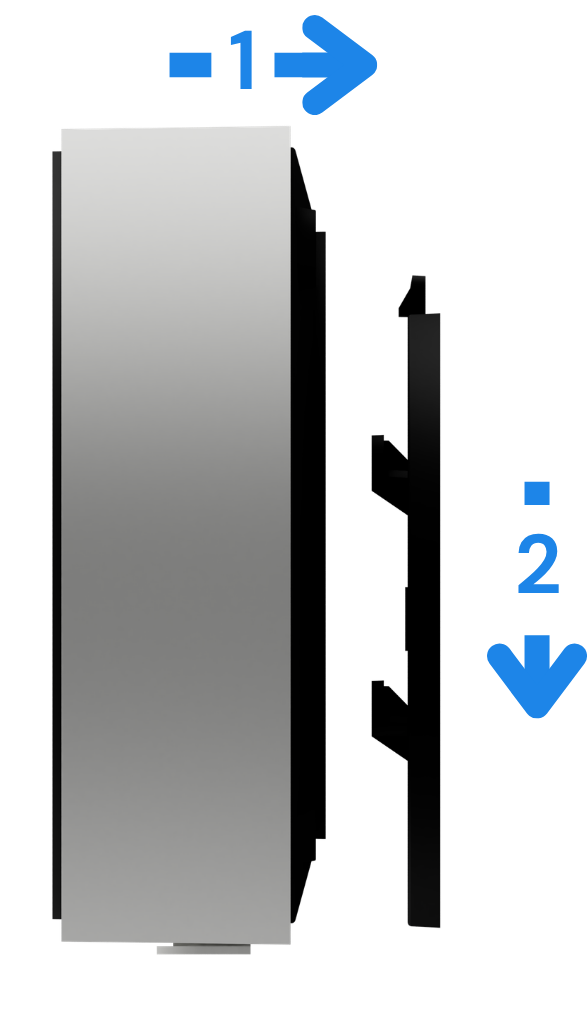
Place the WaterGuard Level onto the top of the mounting plate and slide it down until it sits securely. Then connect the USB-C power supply. The controller starts up.
Register the device in the myCistern app
Add the device
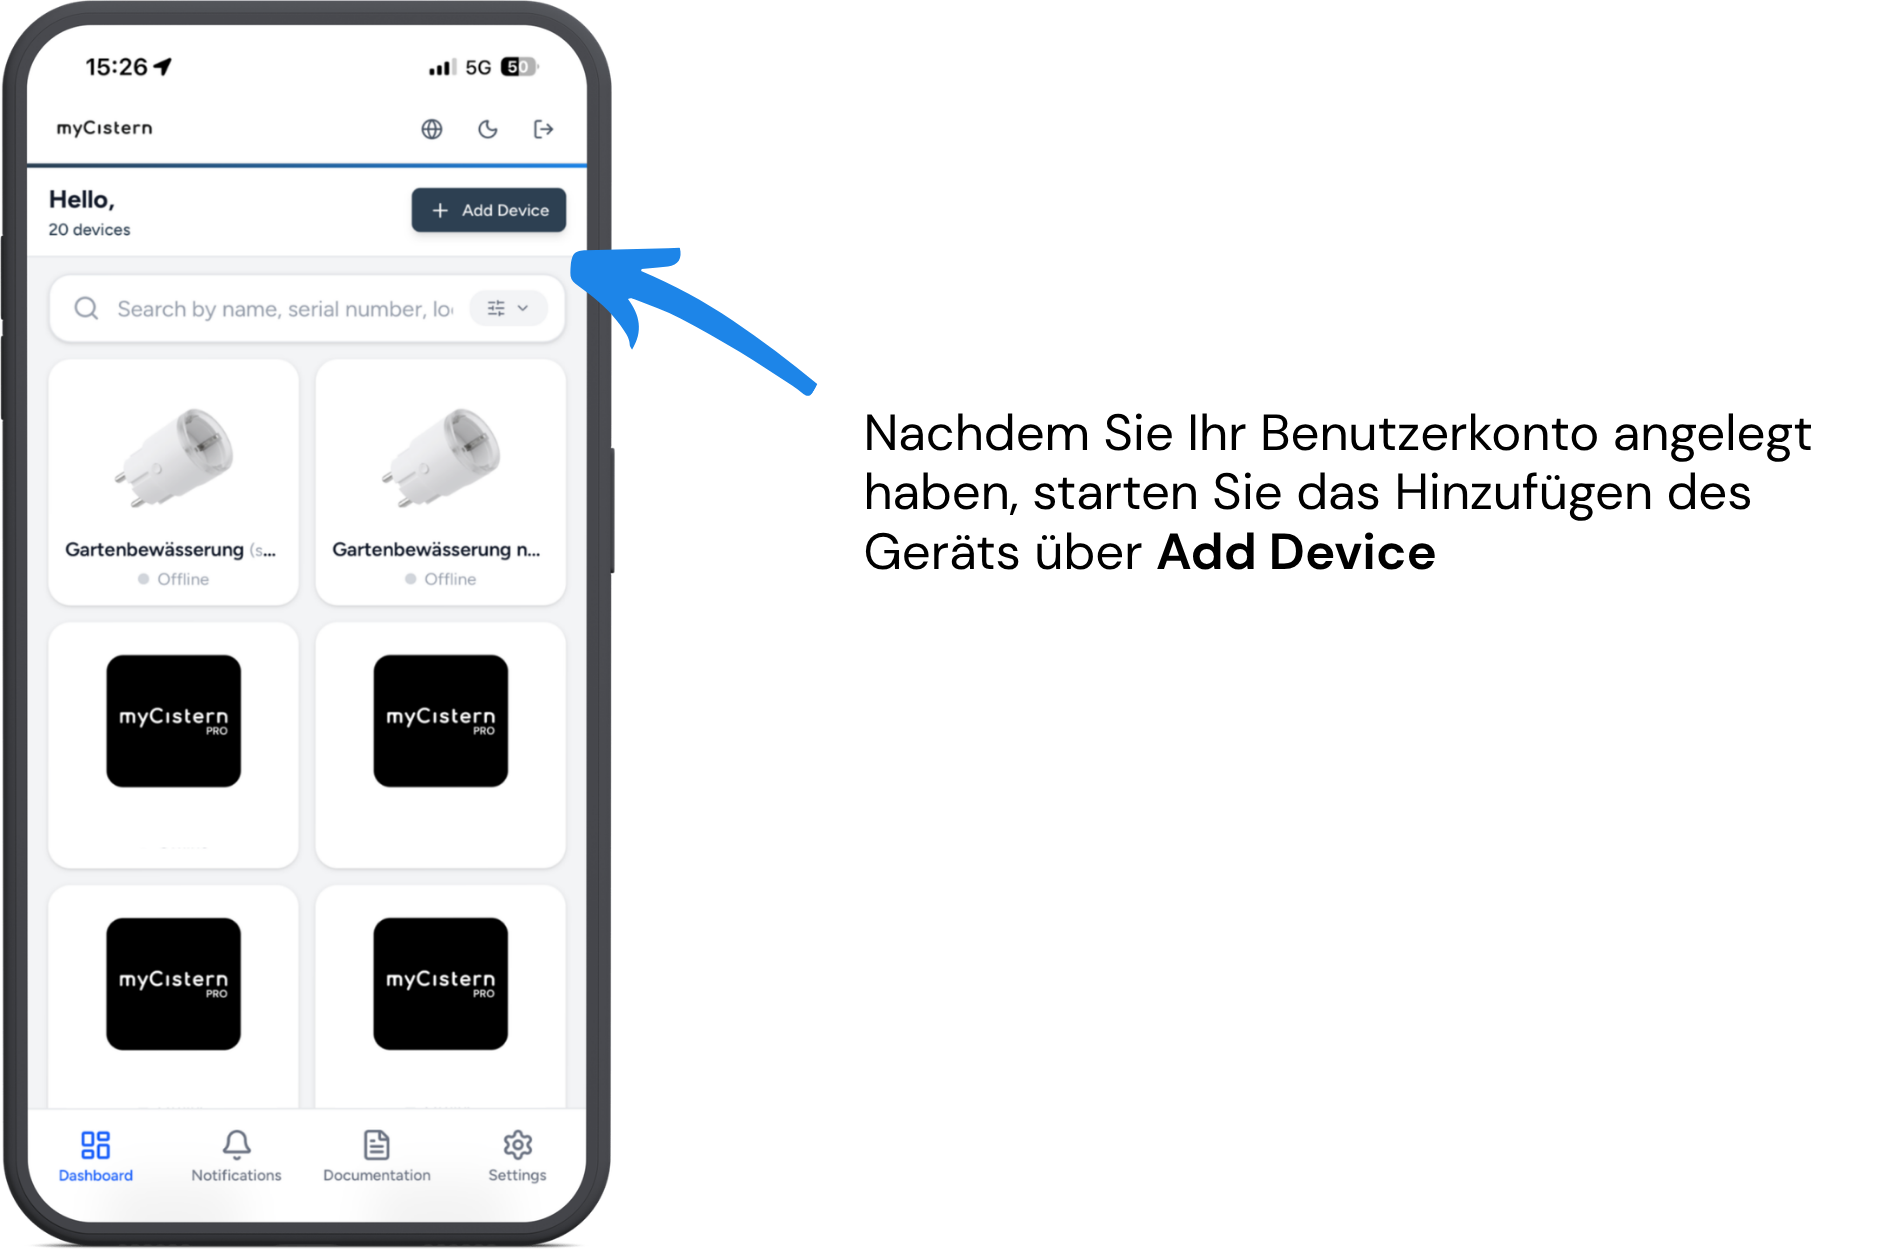
Open the myCistern app and tap Add Device. Select Scan QR, allow camera access if requested, and scan the QR code on the back of the WaterGuard Level Controller.
Set up Wi-Fi
Note
Wi-Fi setup does not take place in the myCistern app. Connect your smartphone directly to the hotspot of the WaterGuard Level Controller.
Connect to the network whose name begins with myC-WG-. Then open the myCistern WaterGuard WiFi Configurator, select your 2.4 GHz Wi-Fi network and enter its password. Tap Save. If the connection fails, reconnect your smartphone to the device hotspot and repeat the setup.